Monday, March 24, 2014

Playing with steel wire


It's been a long winter and while I wish I could say that I've spent the last few months making 8 billion new pieces to show everyone, I'm just not at the "show-off" point. I've done quite a bit...but I just need to get things photographed and posted onto Etsy soon.

In the meantime, I'll show you a work in progress. I'm currently working on a piece for a challenge that requires me to use only reclaimed/recycled materials. Here's a portion of the project, about 17 inches of handmade chain of 16 gauge steel with twisted double strands of 20 gauge steel for jump rings. Annealed...but my hands still ache. I also took steel wool to each link to bring up a bit of shine and applied Renaissance Wax to deter rusting.


Photos of the finished piece to follow (my deadline is 4/1 for the challenge), as well as other endeavors!

Saturday, December 7, 2013

DIY Party Girl

Since we're getting in the thick of the swank shindig season, I thought I'd share some of the tutorials that I've found lately for some posh (but super inexpensive) sartorial stylings:

http://www.cottonandcurls.com/2012/12/diy-tulle-skirt-tutorial/
I love this super-easy and inexpensive tulle skirt project from Cotton and Curls. Ever want to sport a poofy skirt like Carrie from the opening of Sex in The City? Now you can!

http://sealoquesea.wordpress.com/2011/12/04/pinning/
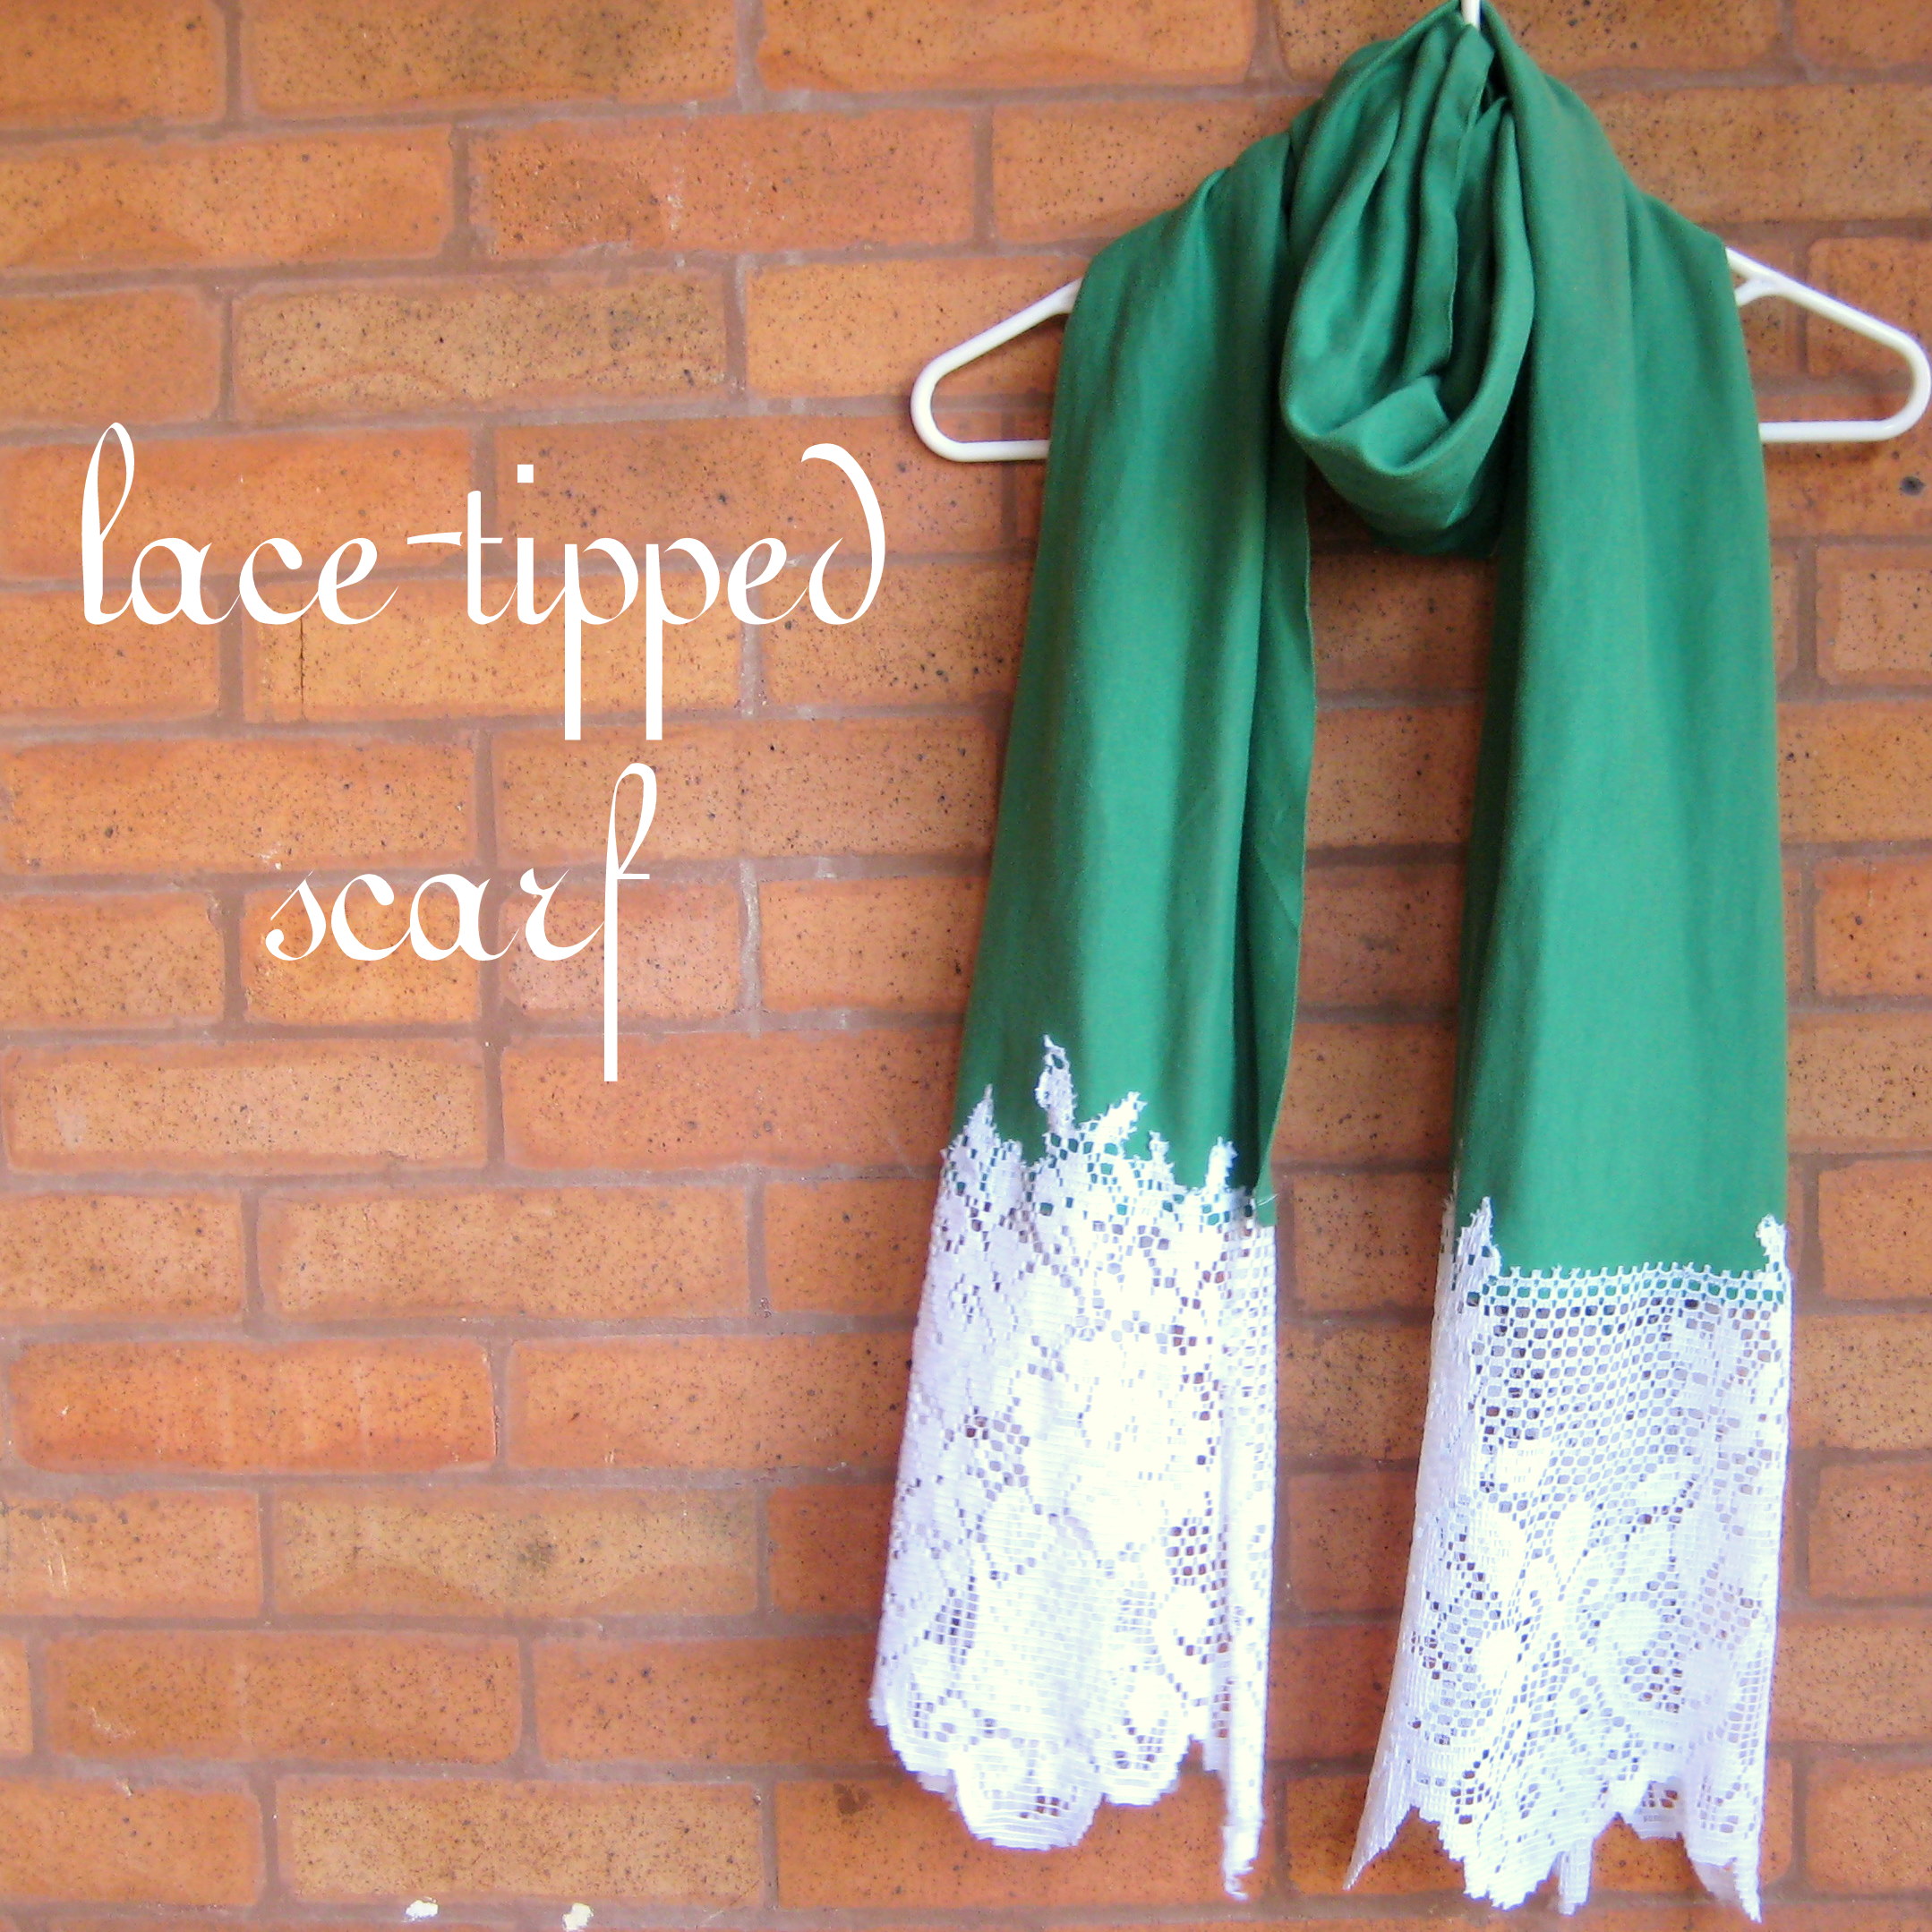
Another terrific bargain project is this scarf from Sea Lo Que Sea's blog, taking inspiration from an $1100 piece.

http://www.impatientlycrafty.com/2012/11/30/how-to-make-your-own-sassy-glitter-shoes-on-the-cheap-and-what-not-to-do/
Lindsay over at Impatiently Crafty gives a great tutorial for glitter shoes. The best part? She also gives some great examples of what NOT to do.

http://www.purlbee.com/the-purl-bee/2009/5/21/mollys-sketchbook-fathers-day-tie.html
If your (or your partner's) style is a bit more on the butch end of the spectrum, there's always this necktie project from The Purl Bee. Not only could you do this in ANY woven fabric pattern or solid, you could also customize your fabric with a DIY screen print using Mod Podge with this tutorial from Better Homes and Gardens.
http://www.bhg.com/decorating/do-it-yourself/fabric-paper-projects/how-to-screen-print/

Tuesday, December 3, 2013

The Art of AdORNAMENTS at the RAM, December 6-29th 2013


I had nearly forgotten about Racine Art Museum's call for artists for their The Art of AdORNAMENTS exhibition this month until last night...at 6 p.m...the night before submissions were due. Still wanting to participate, even if I couldn't whip up something stellar on short notice, I did manage to get an ornament together and deliver it to the museum on my lunch hour.


All components are from my scrap stash. The butterfly wings are plastic that I painted with iron paint (love that stuff!) and rusted with my salt and vinegar mix. The rhinestones are a vintage buckle and a brass skeleton key is attached with a coil of salvaged copper wire. Vintage glass beads and pearls are attached with more repurposed wire bits. Not an epic and ornate work by any means, but I rather like it.


The exhibition opens at 6 p.m on Friday, December 6th during Racine's monthly First Friday festivities, which is always a fun evening. In addition to the AdORNAMENTS show opening, the museum is featuring a exhibition of blown glass ornaments from the Mathis Collection and a number of downtown galleries and studio spaces are open late for the First Friday event.

Thursday, November 28, 2013

Upcycled earring display

During the summer, I’d found a chrome laundry hamper frame and decided to salvage it to use as a display piece at shows.  Since it was too new- looking to fit with the rest of my fixtures, I gave it a couple of coats of iron paint followed by a wash of salted vinegar to rust it. I hung it on a chain from one of the beams under the hayloft at the Holy Hill Art Farm Market in October, and used clothespins to attach earring cards to create sort of an “earring chandelier” for my booth. Using a swivel clip at the end of the chain also allowed it to be turned by the customer to show all sides.

 (forgive the grainy camera phone shot, this is my only photo of the piece in action in this incarnation)
While it worked wonderfully as a hanging piece, I knew I wouldn’t usually have a ceiling to hang it from at most shows and it would take up a lot of space as a tabletop piece. I needed to figure out a way of making it freestanding.

I found this coat rack at Goodwill for $4.99 and hit upon an idea. The rack comes apart in sections, each with an upright screw post to attach it to the next. This would make it easy to break down for transporting to and from shows.

I removed the top portion with the coat pegs and added a scrap craft plaque (thrifted) that I'd stained to match the coat rack, screwed into the top post. Between this plaque and another, I added a lazy susan mechanism (salvaged) which would allow the display to rotate. The hamper then rests on top, with four upright screws between the cross supports of the hamper. These upright screws fit into holes in another plaque on top of the stack and are secured using easy-to-remove wing nuts.

 This top plaque not only holds the hamper to the coat rack base, but also allows it to be removed for events where I can use it in “chandelier” form. The wing nuts also provide a socket to hold signage for the rack. 

Here we have the new rounder "in action" at the Holiday Craftacular in Madison last weekend. 

Unfortunately, I managed to crack one of the legs when a tote fell against it in my car, so I had to McGuyver a packing tape solution on-site. A bit of wood glue, a screw, and a clamp to hold it until the glue sets and it'll be back in the game for the next event!

Sunday, November 17, 2013

Craftacular Madison 2013

 www.madisoncraftacular.com

 I'm super excited to be vending at Craftacular this year! This is an awesome annual market of alternative crafters in the vein of Chicago's Renegade and Milwaukee's Art vs. Craft markets.

Join us Saturday November 23rd for Madison's Original Independent Craft Show! We will once again be returning to the gorgeous Masonic Center located in the heart of downtown Madison and will be showcasing over 70 artists & crafters.

Some awesome findings from past shows:


Sunday, October 27, 2013

Paper collage skulls


Admittedly, not the best shot of my paper collage skulls. I brought a dozen to the Holy Hill Art Farm last weekend and only managed to get this shot with my camera phone before they completely sold out! I had them on the tables and filled the doll cradle at the opening to my booth with them, the latter of which was the key, I think. Everyone heading up the stairs to the loft saw them, so they quickly found new homes.

More paper collage may happen soon and, if I have time, a tutorial.

Saturday, October 12, 2013

Nightmare on Chicago Street 10/26/2013


I just received confirmation yesterday that I'll be vending in the "Safe Zone" at Nightmare on Chicago Street in Elgin, Illinois on Saturday the 26th. It'll be my first time even attending this event and I hear that it's HUGE... over 6,000 attendees last year (their 2nd year) and projections of over 8,000 this year. It sounds like incredible fun with live bands, roving street entertainment, and such.More info on the event may be found at http://www.nightmareonchicagostreet.com or on Facebook at http://www.facebook.com/nightmareonchicagostreet